
A Slice of Nostalgia: My First Attempt at Making Apple Pie
Let me tell you a little story about the time I decided to tackle one of baking’s greatest challenges—how to make apple pie . Spoiler alert: it was messy, chaotic, and absolutely worth every second.
It all started on a crisp fall afternoon. The leaves were turning shades of amber and gold outside my window, and I had just finished binge-watching yet another baking show (you know the ones where everything always turns out perfect?). Feeling inspired—and maybe a little overconfident—I declared to myself, “Today’s the day I master apple pie .” Armed with nothing but my grandma’s old recipe card and a Pinterest board full of golden-crusted pies, I dove headfirst into the adventure.
Gathering Ingredients: Where Things Got Real
The first step seemed simple enough: gather ingredients. But as I rummaged through my pantry, reality hit hard. Did I have flour? Check. Sugar? Yep. Butter? Uh… nope. And thus began my unplanned grocery run in sweatpants and mismatched socks.
When I finally returned home, arms loaded with apples, butter, and spices, I felt like Julia Child reincarnated. That is, until I realized I’d forgotten cinnamon. Cue internal meltdown. Thankfully, my neighbor came to the rescue with a tiny jar from her spice rack. Lesson learned: always double-check your list before heading out!
The Crust Catastrophe
Now, let’s talk about the crust—the infamous nemesis of amateur bakers everywhere. Rolling out dough sounds easy in theory, but in practice? Not so much. Mine looked more like a Picasso painting than a smooth circle. At one point, the dough tore, and I patched it together with what can only be described as “baking duct tape.”
But here’s the thing: imperfections are part of the process. When I finally managed to get the crust into the pan (albeit lopsided), I patted myself on the back. Sure, it wasn’t perfect, but it was mine.
Filling Frenzy
Slicing apples turned out to be surprisingly therapeutic. There’s something oddly satisfying about hearing the knife crunch through the fruit. As I tossed the slices with sugar, brown sugar, and spices, my kitchen smelled like autumn in a bowl.
Then came the moment of truth: assembling the pie. I carefully layered the apples into the crust, sprinkled some breadcrumbs underneath (thanks to the tip from this guide!), and topped it with the second crust. Lattice work? Ha! Let’s just say mine resembled a toddler’s art project—but hey, it had character.
Baking Bliss (and Minor Panic)
As the pie baked, the house filled with the most heavenly aroma. It smelled like love, warmth, and everything cozy. But halfway through baking, disaster struck—or so I thought. The filling started bubbling over onto the oven floor. Smoke alarms blared, and I frantically opened windows while muttering apologies to my landlord under my breath.
Thankfully, the pie itself emerged triumphant—a slightly burnt edge here, a wonky lattice there, but still undeniably beautiful.
The Taste Test
After letting the pie cool (which felt like an eternity), I cut into it with trembling hands. The first bite was… magical. The crust was flaky, the apples were tender, and the spices danced on my tongue. Was it perfect? Nope. Was it delicious? Absolutely.
Sharing that slice with my family made the experience even sweeter. They oohed and aahed over my creation, completely unaware of the chaos behind the scenes. In that moment, I realized something important: how to make apple pie isn’t just about following a recipe—it’s about pouring your heart into it and embracing the imperfections along the way.
So if you’re thinking about trying your hand at apple pie , go for it! Trust me, the joy of pulling a homemade pie out of the oven is unmatched. Plus, there’s nothing quite like saying, “I made this,” as you serve up slices of warm, gooey goodness.
And who knows? Maybe someday, someone will tell their own story about learning how to make apple pie —inspired by yours truly.
Introduction to Apple Pie
What Makes Apple Pie So Special?
You know how some foods just feel like home? Well, apple pie is definitely one of them. This classic dessert has been a staple at family gatherings, holiday feasts, and cozy Sunday dinners for generations. But what exactly makes it so darn irresistible? For starters, there’s the combination of buttery, flaky crust and sweet-tart apple filling that hits all the right notes. Plus, who can resist the charm of a beautifully latticed top?
Apple pie isn’t just about taste—it’s also about nostalgia. Think about it: biting into a slice takes you back to simpler times, maybe even Grandma’s kitchen. And hey, if you’ve never made one yourself, don’t sweat it! By the end of this guide, you’ll be crafting pies that could rival any bakery’s finest.
A Brief History of Apple Pie
Believe it or not, apple pie didn’t start out as the all-American treat we know today. Its roots trace back to England, where early recipes date as far back as the 14th century. Back then, though, pies were more savory than sweet. Fast forward to colonial America, and suddenly, everyone was obsessed with turning apples into gooey, cinnamon-spiced masterpieces.
Today, how to make apple pie is practically a rite of passage for bakers everywhere. It’s not just a dessert; it’s a symbol of warmth, tradition, and good oil’ fashioned comfort food.
Ingredients You’ll Need for the Perfect Apple Pie
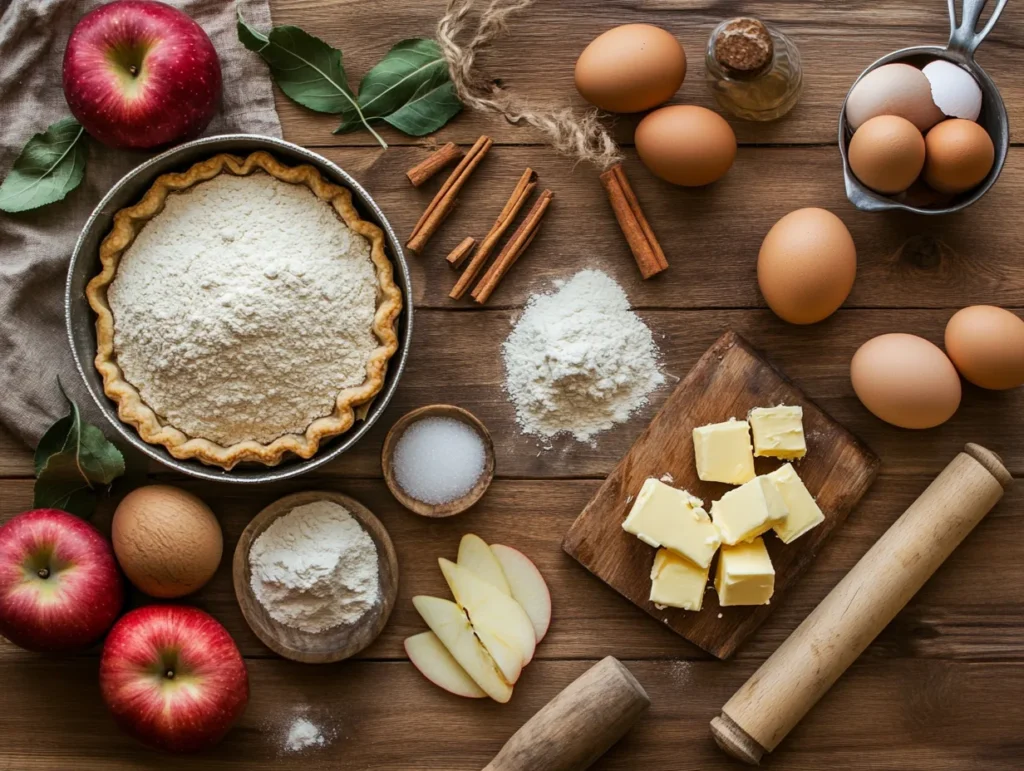
The Essential Ingredients for Your Crust
Alright, let’s talk crust—it’s the backbone of any good apple pie . A flaky, buttery crust can make or break your dessert, so don’t skimp here! For a classic pie crust, you’ll need flour, salt, cold butter (or shortening if you’re feeling adventurous), and ice water. Why cold butter, you ask? Well, it’s the secret to those irresistible layers that practically melt in your mouth. Pro tip: use a pastry cutter or your fingers to blend the butter into the flour until it resembles coarse crumbs.
If you’re short on time, store-bought crust works too—no judgment here! But honestly, making your own crust is easier than you think and totally worth the effort. Plus, there’s something satisfying about saying, “Yeah, I made this from scratch.”
Choosing the Right Apples for Your Filling
Now onto the star of the show: the apples. Not all apples are created equal when it comes to baking, so listen up. Granny Smiths are a fan favorite because they hold their shape and bring a nice tartness to balance out the sugar. Honeycrisp and Braeburn are also great options if you want something a little sweeter.
Here’s the deal: mixing apple varieties gives your pie depth and complexity. Try pairing a tart apple with a sweeter one for a flavor combo that’ll knock your socks off. And remember, thinly sliced apples cook more evenly, so grab your sharpest knife or mandoline slicer.
Optional Add-ins to Spice Up Your Apple Pie
Want to take your apple pie to the next level? Throw in some extras like cinnamon, nutmeg, or even a splash of vanilla extract. Some bakers swear by adding a pinch of lemon zest for brightness or a dollop of sour cream for richness. If you’re feeling bold, toss in some chopped nuts or raisins for texture. The possibilities are endless!
Step-by-Step Guide to Making Apple Pie
Preparing the Perfect Pie Crust
Let’s get down to business—making that crust. Start by whisking together your flour and salt in a bowl. Then, cut in your cold butter until the mixture looks like coarse sand. Slowly add ice water, one tablespoon at a time, mixing gently until the dough comes together. Be careful not to overwork it; we’re aiming for tender, not tough.
Once your dough is ready, divide it in half, shape it into discs, and chill it for at least 30 minutes. This step is crucial—it relaxes the gluten and keeps the crust flaky. While the dough chills, you can prep your filling. See how smooth this process is?
Creating a Flavorful Apple Filling
Now for the fun part: the filling. In a large bowl, toss your sliced apples with sugar, brown sugar, cinnamon, and a bit of flour to thicken the juices. If you’re using any optional spices or add-ins, throw them in now. Give everything a good mix until the apples are evenly coated.
Pro tip: taste a slice of apple with the seasoning before adding it to the crust. That way, you’ll know if you need to adjust the sweetness or spice levels. Trust me, this little trick ensures your apple pie turns out just right.
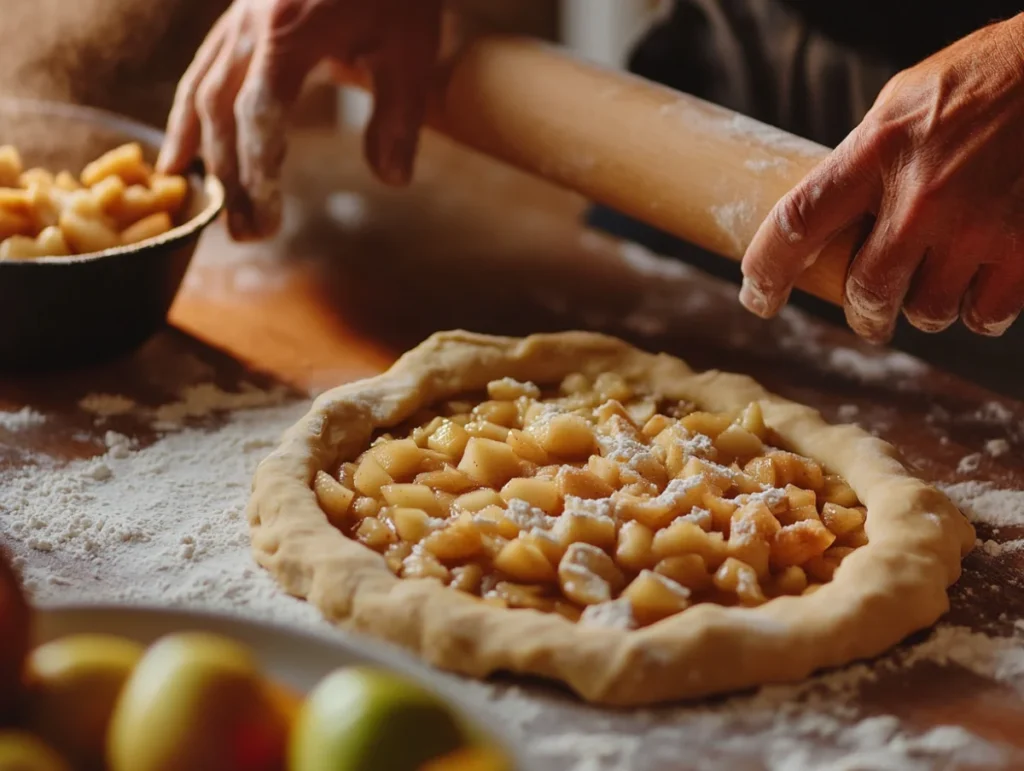
Assembling and Baking Your Apple Pie
Roll out one disc of dough to fit your pie pan, then spoon in that delicious apple filling. Top it with the second crust—lattice style if you’re feeling fancy—or simply cover it and cut slits for ventilation. Brush the top with an egg wash (beaten egg + water) for that golden glow, and pop it in the oven.
Bake at 375°F for about 50-60 minutes, or until the crust is golden brown and the filling is bubbly. Let it cool before slicing—yes, patience is key here!
Tips and Tricks for a Flawless Apple Pie
How to Avoid a Soggy Bottom Crust
Let’s be real—no one likes a soggy crust. It’s the ultimate buzzkill when you’re slicing into your apple pie . So how do you avoid it? Here’s the secret: pre-bake (or “blind bake”) your bottom crust before adding the filling. Simply line the crust with parchment paper, fill it with pie weights or dried beans, and bake it for about 10 minutes. This step sets the crust and prevents it from getting waterlogged.
Another trick? Sprinkle a thin layer of breadcrumbs or crushed graham crackers on the bottom before adding the apples. They’ll soak up excess moisture like champs. Trust me, your future self will thank you.
Secrets to Achieving a Golden, Flaky Crust
If you’ve ever wondered why bakery pies always look so golden and perfect, here’s the scoop: egg wash. Before baking, brush the top crust with a mixture of beaten egg and a splash of water. Not only does it give your pie that gorgeous shine, but it also helps the crust brown beautifully.
Oh, and don’t forget to keep everything cold! Cold butter, cold water, and even chilling the assembled pie before baking can make all the difference. It’s like giving your crust a head start on being flaky and fabulous.
Time-Saving Hacks for Busy Bakers
Life gets busy, and sometimes you just don’t have hours to spend in the kitchen. That’s okay! You can still whip up an amazing apple pie without losing your sanity. Use store-bought crust if you’re short on time—it’s not cheating; it’s smart. Or prep your filling the night before and refrigerate it. When you’re ready to bake, just assemble and pop it in the oven.
Pro tip: double the recipe and freeze one unbaked pie for later. That way, you’ll always have a homemade dessert ready to go.
Serving and Storing Your Apple Pie
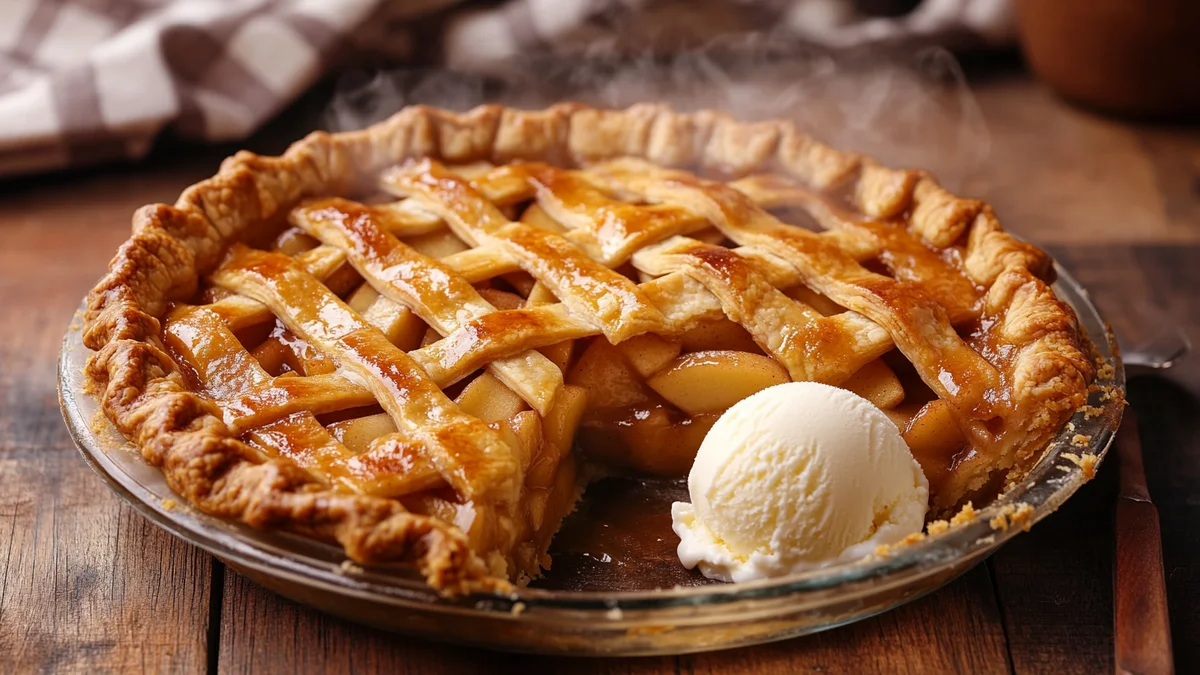
Best Ways to Serve Apple Pie
Now that your apple pie is baked to perfection, let’s talk serving. A slice of warm pie paired with a scoop of vanilla ice cream? Pure heaven. Or, if you’re feeling fancy, drizzle some caramel sauce over the top for an extra touch of indulgence. Honestly, there’s no wrong way to serve it—just make sure you’ve got napkins handy because things might get messy!
For a fun twist, try serving mini slices as bite-sized desserts at your next gathering. They’re adorable, easy to share, and guaranteed to disappear fast.
How to Store Leftovers Without Losing Freshness
Got leftovers? Lucky you! To keep your apple pie fresh, cover it loosely with foil or plastic wrap and store it at room temperature for up to two days. If you live in a hot or humid climate, though, it’s better to refrigerate it. Just be sure to bring it back to room temp before serving—it tastes best that way.
If you want to save it for longer, wrap individual slices in plastic wrap and freeze them. When you’re craving a slice, simply reheat it in the oven for 10-15 minutes. Voilà—fresh-baked goodness whenever you want it!
Common Mistakes to Avoid When Making Apple Pie
Overloading the Filling: Less is More!
Here’s a rookie mistake that even seasoned bakers make: overloading the pie with apples. Sure, you want a generous filling, but cramming too many apples into your crust can lead to disaster. The filling won’t cook evenly, and you might end up with undercooked apples or a soggy mess. Stick to about 6-8 cups of sliced apples—enough to create a hearty layer without overcrowding.
Oh, and don’t forget to leave some space at the top for the filling to bubble up while baking. If you pack it too tightly, you’ll have a sticky overflow situation on your hands. Nobody wants that, right?
Why You Shouldn’t Skip Chilling the Dough
Listen up, folks: chilling your dough isn’t optional—it’s essential. Skipping this step can result in a tough, shrunken crust that’s anything but flaky. The cold butter in the dough needs time to firm up so it can create those magical layers as it bakes. So do yourself a favor and chill the dough for at least 30 minutes before rolling it out.
And hey, if you’re making the pie ahead of time, you can even freeze the assembled (unbaked) pie for later. Just add a few extra minutes to the bake time when you’re ready to serve. Easy peasy!
Variations of Apple Pie Recipes
Adding a Twist with Cinnamon or Nutmeg
Let’s spice things up, shall we? While cinnamon is the classic go-to for apple pie , don’t be afraid to experiment with other spices like nutmeg, allspice, or even cardamom. These warm spices add depth and complexity to your filling, making your pie stand out from the crowd. A pinch of ground cloves can also elevate the flavor profile without overpowering the apples.
For a modern twist, try adding a hint of citrus zest or a splash of bourbon to the filling. It’s unexpected, but trust me—it works wonders.
For more delicious recipes, check out our Recipe Archive !
Gluten-Free and Vegan Apple Pie Options
Got dietary restrictions? No problem! You can still enjoy a delicious apple pie without gluten or animal products. Swap regular flour for a gluten-free blend when making the crust, and use coconut oil or vegan butter instead of traditional butter. For the filling, skip the egg wash and opt for a plant-based milk wash to achieve that golden crust.
Vegan pies are just as tasty as their traditional counterparts, and your guests will never know the difference. Plus, you’ll feel good knowing everyone can indulge in a slice of homemade goodness.
FAQs About How to Make Apple Pie
How Long Does It Take to Bake an Apple Pie?
Great question! On average, baking an apple pie takes about 50-60 minutes at 375°F. You’ll know it’s done when the crust is golden brown and the filling is bubbling through the vents or slits. If the edges of the crust start browning too quickly, cover them with foil to prevent burning. Patience is key here—let the pie cool for at least 2 hours before slicing to allow the filling to set.
Can I Use Store-Bought Pie Crust?
Absolutely! While homemade crust is always a winner, store-bought crust can save you time without sacrificing flavor. Just make sure to follow the package instructions for pre-baking if needed. Honestly, no one will judge you for taking this shortcut—it’s all about enjoying the pie!
What Are the Best Apples for Baking?
The best apples for apple pie are firm, flavorful varieties like Granny Smith, Honeycrisp, or Braeburn. These apples hold their shape during baking and provide a nice balance of sweetness and tartness. Mixing apple types can also add depth to your filling.
How Do I Know When My Apple Pie Is Done?
You’ll know your pie is ready when the crust is golden brown and the filling is bubbling thickly. The bubbles mean the juices have thickened, which ensures your pie slices cleanly. If you’re unsure, insert a knife into the center—if it comes out warm and the apples feel soft, you’re good to go!
Why Apple Pie Deserves a Spot in Your Recipe Book
At the end of the day, how to make apple pie isn’t just about following steps—it’s about creating memories. Whether you’re baking for a holiday feast or simply craving a slice of comfort, this classic dessert has a way of bringing people together. With its buttery crust, spiced apple filling, and endless variations, apple pie truly is the ultimate crowd-pleaser.
So why not give it a try? Armed with this guide, you’re ready to bake a pie that’s as delicious as it is unforgettable. And hey, don’t forget to share a slice with someone special—it’s always better when enjoyed with good company. Happy baking!